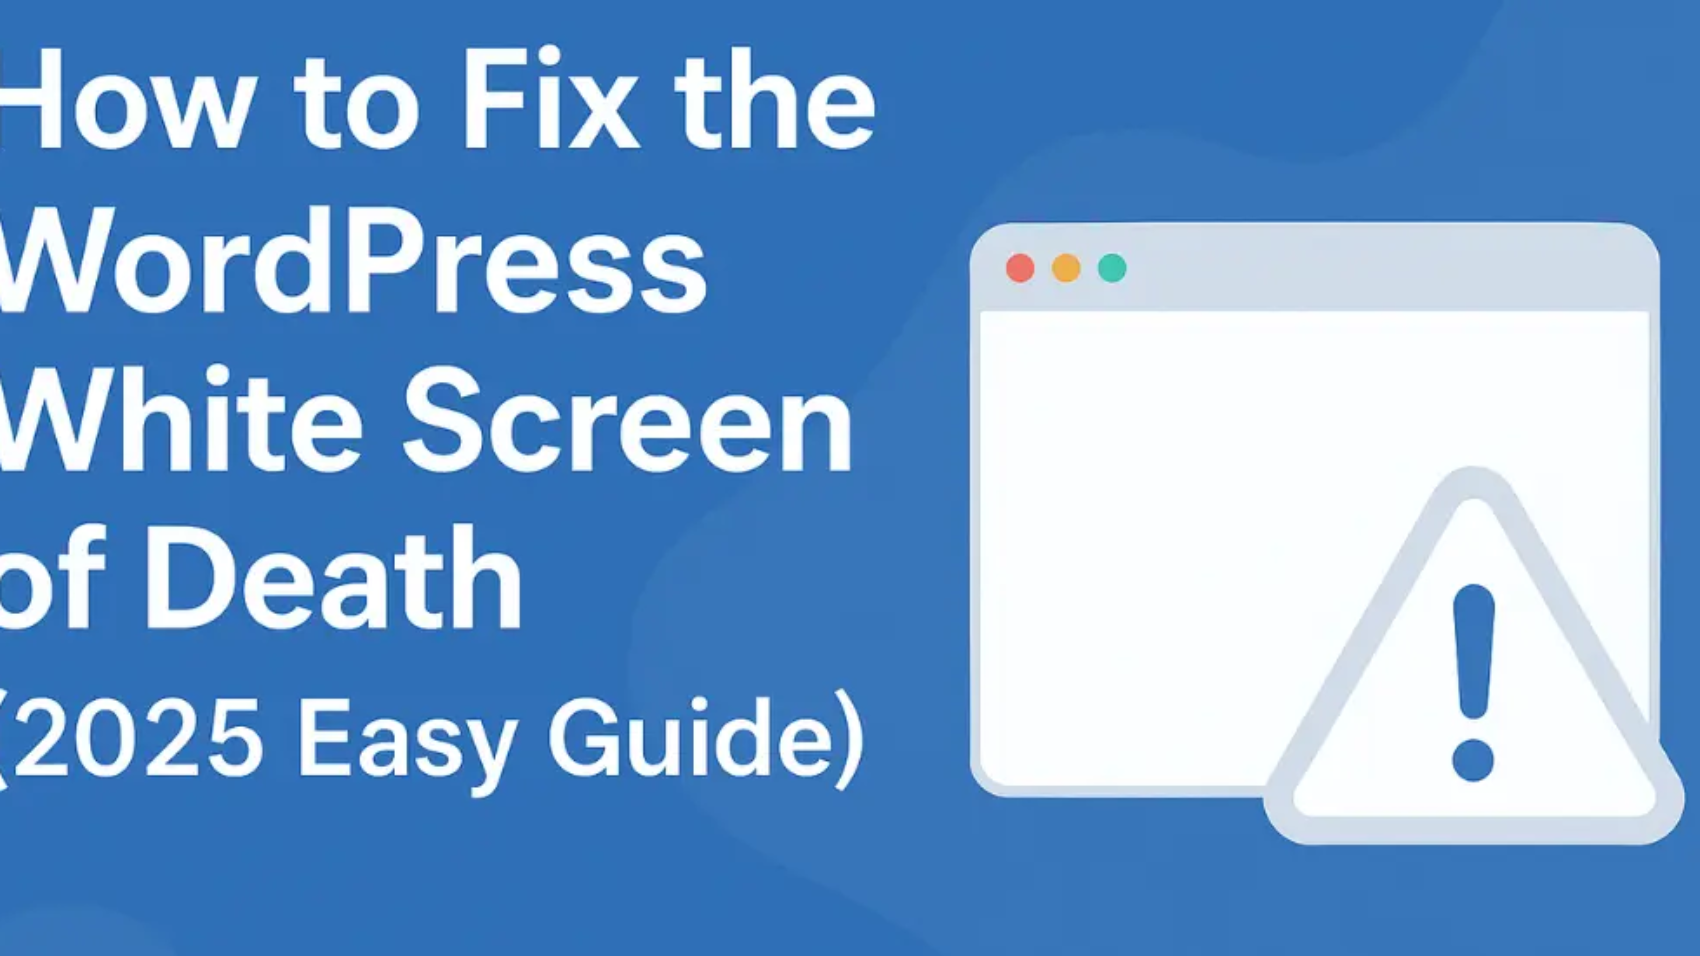
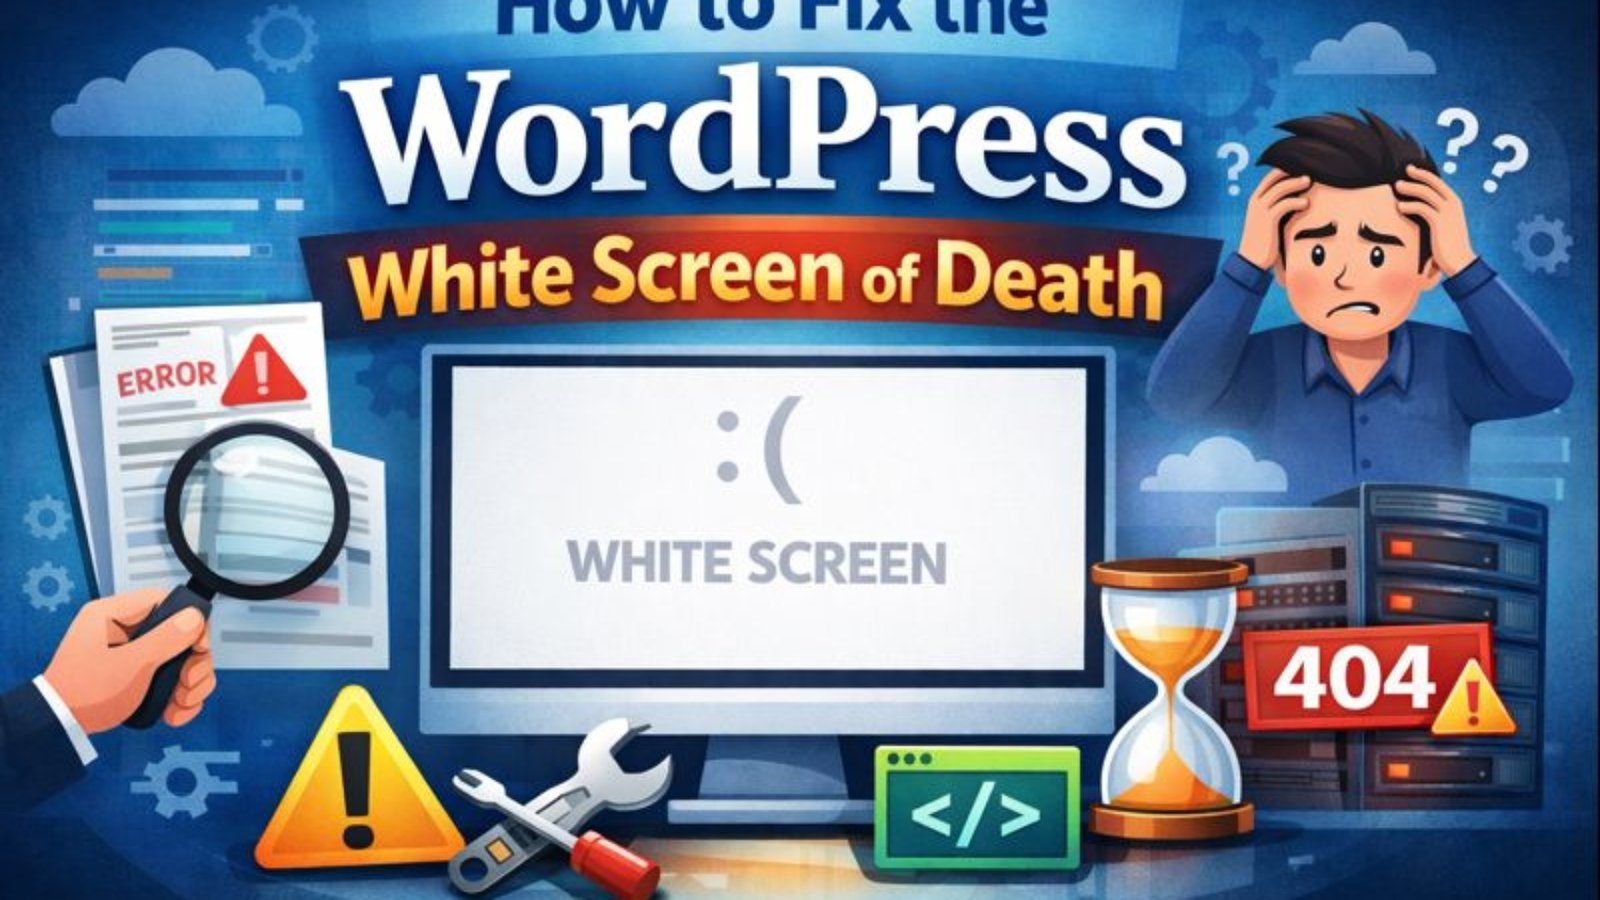
speed up WordPress

How to Speed Up Your WordPress Website (Beginner-Friendly Guide for 2025)

A slow website doesn’t just frustrate users — it also affects your Google ranking, bounce rate, and AdSense revenue.

If your WordPress site takes more than 3 seconds to load, it’s time to take action.

In this guide, you’ll learn how to speed up your WordPress website using beginner-friendly steps that actually work in 2025

🚀 Why Speed Matters for WordPress

  • Better SEO – Google ranks fast websites higher
  • Higher conversions – Faster pages = more leads/sales
  • Improved user experience – Visitors stay longer
  • Better AdSense performance – Slow sites earn less revenue

✅ Step 1: Test Your Website Speed

Before you start, check how your site performs.

Use tools like:

Check:

  • Load time
  • Core Web Vitals
  • Largest Contentful Paint (LCP)
  • Time to First Byte (TTFB)

🧩 Step 2: Use a Lightweight Theme

Heavy themes slow down your site. Choose fast, minimal themes like:

  • GeneratePress
  • Astra
  • Neve

These themes are optimized for speed and work great with page builders.

🔧 Step 3: Install a Caching Plugin

Caching reduces server load and speeds up page delivery.

Top plugins:

  • WP Rocket (premium)
  • LiteSpeed Cache (free if on LiteSpeed server)
  • W3 Total Cache
  • WP Super Cache

Enable:

  • Page caching
  • Browser caching
  • GZIP compression

🖼️ Step 4: Optimize Images

Unoptimized images are a common speed killer.

Solutions:

  • Use WebP format (next-gen image format)
  • Compress using TinyPNG, ShortPixel, or Smush
  • Set image dimensions in your theme

💾 Step 5: Use a Content Delivery Network (CDN)

CDNs deliver your content from servers closest to your users.

Top CDNs for WordPress:

  • Cloudflare (free)
  • BunnyCDN (affordable)
  • StackPath

A CDN can drastically improve global page load speed.

🧹 Step 6: Minify CSS, JavaScript & HTML

Minification removes unnecessary spaces and comments in your code.

Enable via:

  • Your caching plugin
  • Plugins like Autoptimize
  • Cloudflare (under Speed settings)

🧠 Step 7: Limit Plugins & Scripts

Too many plugins = slow website.

  • Delete unused plugins
  • Avoid heavy plugins (e.g., sliders, social feeds)
  • Use plugins with active updates & good reviews

🔄 Step 8: Keep Everything Updated

  • WordPress Core
  • Themes
  • Plugins
  • PHP version (use 8.0 or higher)

Outdated software can slow down your site and cause compatibility issues.

🔗 Related Posts

✅ Final Thoughts

Speeding up your WordPress site isn’t hard — it just takes a few smart changes. Start with caching, image optimization, and a fast theme, and you’ll see immediate results.

Faster websites = more traffic, better SEO, and higher earnings. 💰

Have questions or want me to review your site speed? Drop a comment or reach out — I’d be happy to help!

wordpress_upload_limit_error

How to Increase Maximum Upload File Size in WordPress (3 Proven Methods)

How to Increase Maximum Upload File Size in WordPress (3 Proven Methods)

Are you getting a frustrating error like:

“The uploaded file exceeds the upload_max_filesize directive in php.ini”?

You’re not alone. Many WordPress users encounter this issue when uploading large media files, plugins, or themes. In this post, you’ll learn three proven methods to increase the maximum upload file size in WordPress.

Let’s fix this — fast and easy!

🔍 What Causes the Upload Size Limit?

WordPress depends on your server’s PHP configuration to determine how large a file you can upload. By default, most hosting providers set this limit to something like:

  • 2MB
  • 8MB
  • 64MB

When you try to upload a file that’s too large, WordPress shows an error and blocks the upload.

You might face this when:

  • Uploading a high-res image or video
  • Installing a large theme or plugin
  • Importing demo content

✅ How to Check Your Current Upload Limit

To find your current limit:

  1. Go to Media > Add New in your WordPress dashboard.
  2. Look below the upload box. You’ll see something like:

Maximum upload file size: 2 MB

If that’s too low for your needs, let’s increase it

🔧 Method 1: Modify .htaccess (Recommended for Shared Hosting)

If your site uses Apache (most shared hosts), you can edit the .htaccess file in the root directory.

Add the following lines:

php_value upload_max_filesize 128M
php_value post_max_size 128M
php_value max_execution_time 300
php_value max_input_time 300

📌 Tip: Always back up your .htaccess file before making any changes.

🧠 Method 2: Update php.ini (If Your Hosting Allows)

On some servers, you have access to the php.ini file. Add or update these lines:

upload_max_filesize = 128M
post_max_size = 128M
max_execution_time = 300

Restart the server or use .user.ini if you can’t modify php.ini directly.

🧩 Method 3: Use a Plugin (No Code Needed)

Don’t want to touch any files? Use a plugin like:

👉 Increase Maximum Upload File Size – WordPress Plugin

Once installed, go to the plugin settings and select your preferred file size. It’s beginner-friendly and quick.

💡 Still Not Working?

Some hosting providers enforce limits at the server level. If none of the above works, contact your host and ask them to:

  • Increase upload_max_filesize
  • Increase post_max_size
  • Increase memory_limit

Most hosting companies will update these settings within minutes upon request.

🔄 Final Thoughts

Increasing your WordPress upload size limit is essential if you’re handling large themes, plugins, or media files. Whether you edit .htaccess, tweak php.ini, or use a plugin — the process takes just a few minutes.

Now you won’t be stuck staring at frustrating upload errors anymore.

👉 Also Read: How to Fix “The Link You Followed Has Expired” in WordPress


Got any questions or still facing upload issues? Drop a comment below — I’d love to help!

The Link You Followed Has Expired

How to Fix “The Link You Followed Has Expired” Error in WordPress (Step-by-Step)

Have you ever tried uploading a WordPress theme or plugin and seen the frustrating message:

“The link you followed has expired”?

Don’t worry — you’re not alone. This is a very common error in WordPress, and the good news is: it’s easy to fix. In this post, I’ll explain why this happens and show you three simple ways to fix it in less than 5 minutes.

🔍 What Causes “The Link You Followed Has Expired” in WordPress?

This error usually appears when you’re uploading a theme or plugin that is larger than the upload limit set on your server.

By default, WordPress (and your hosting provider) may set limits like:

If your theme or plugin is larger than this limit, the upload fails and WordPress shows this error.

✅ How to Fix the Error (3 Easy Methods)

You can fix this by increasing your server’s upload limit. Here are three methods:

1. Edit the .htaccess File

You can add these lines to the bottom of your .htaccess file (found in your root WordPress folder):

php_value upload_max_filesize 64M
php_value post_max_size 64M
php_value max_execution_time 300
php_value max_input_time 300

Save the file and try uploading your theme/plugin again.

⚠️ Make sure to back up your .htaccess file before editing.

2. Edit the php.ini File

If your hosting allows custom php.ini files, add or edit these lines:

upload_max_filesize = 64M
post_max_size = 64M
max_execution_time = 300

Save the file and restart your server if needed.

3. Edit Your functions.php File

You can also add this code to your theme’s functions.php file:

@ini_set(‘upload_max_size’, ’64M’);
@ini_set(‘post_max_size’, ’64M’);
@ini_set(‘max_execution_time’, ‘300’);

⚠️ Tip: Always use a child theme to make this change so you don’t lose it during updates.

🛠 Best Practice: Use a Plugin or Contact Hosting

If you’re not comfortable editing code, you can use plugins like:

  • WP Increase Upload Filesize
  • WP Maximum Execution Time Exceeded

Or contact your hosting provider to increase the limits for you.

🎯 Final Thoughts

“The link you followed has expired” is not a serious error, and it’s easy to fix with a quick update to your server limits.

If you frequently upload large files or themes, increasing these limits can save you a lot of time and frustration.

How to Fix the WordPress Critical Error (Step-by-Step Guide for 2025)

How to Fix the WordPress Critical Error (Step-by-Step Guide for 2025)

Facing the “There has been a critical error on this website” message? Don’t panic. Here’s how to fix it easily and get your website back online.

🧠 Why This Blog Post?

  • Highly searched keyword: WordPress critical error fix
  • Helps establish your expertise in solving real user problems
  • Good chance to rank if optimized we

If you’ve landed on this page, your WordPress site probably just crashed with a “There has been a critical error on your website” message.
Don’t worry — this is one of the most common WordPress problems, and you can fix it even without being a developer

In this guide, I’ll walk you through the exact steps to fix the WordPress critical error and bring your site back to life.

What Causes the WordPress Critical Error?

The critical error is usually caused by:

  • A faulty plugin or theme
  • PHP version conflicts
  • Memory limit exhaustion
  • File corruption or malware
  • Database connection issues

🛠️ Step-by-Step Solution

✅ Step 1: Enable Debug Mode

Add this to your wp-config.php file:

define( ‘WP_DEBUG’, true );
define( ‘WP_DEBUG_LOG’, true );

This helps you track down what caused the error.

✅ Step 2: Access Site via FTP or File Manager

Login using cPanel > File Manager or via an FTP client like FileZilla.

✅ Step 3: Deactivate All Plugins

Navigate to /wp-content/plugins/ and rename the folder to plugins_old.
Now reload your site. If it works, a plugin caused the issue.
Rename the folder back and reactivate one-by-one

✅ Step 4: Switch to Default Theme

Rename your active theme folder (e.g., astraastra_old) to force WordPress to load a default theme like Twenty Twenty-Four.

✅ Step 5: Increase PHP Memory Limit

In wp-config.php, add:

define( ‘WP_MEMORY_LIMIT’, ‘256M’ );

✅ Step 6: Check for Core File Corruption

Re-upload fresh WordPress core files (except wp-content and wp-config.php) from wordpress.org.

✅ Step 7: Contact Hosting Support

If the issue persists, your hosting provider may help you restore your site or check server errors.

📈 Bonus: Prevent Future Critical Errors

  • Use a reliable theme and plugins
  • Keep WordPress, plugins, and themes updated
  • Install a backup plugin (like UpdraftPlus)
  • Enable server-side malware scanning
  • Avoid editing theme files directly

✅ Final Thoughts

The WordPress critical error can feel like a nightmare, but with the right steps, it’s totally fixable. If you’re still stuck or don’t want to risk breaking more things — Contact me now and I’ll personally help you fix it.

👉 Also Read: How to Fix “How to Increase Maximum Upload File Size in WordPress (3 Proven Methods)” in WordPress.